Serverless databases are on the rise. And for good reason. Meta frameworks like Next.js, Remix, Nuxt.js, and Sveltekit are popular than ever and is often the choice for web projects. They're easy to deploy, a joy to work with, and have great communities.
Traditionally databases don't work well with serverless technologies and frameworks. This is because of how serverless applications are deployed and served. The main problem is how quickly serverless applications can exhaust connection limits of databases causing crashes and downtime. To mitigate this issue, connection pooling could be used. Or we can use a database-as-a-service platform that's made to be used with serverless applications.
One such service is Planetscale. It is a MySQL-based serverless database, and is built on top of Vitess database clustering system. Planetscale automatically manages connections to our applications, but it does more than that.
Planetscale introduces a git-like workflow to managing database schemas in dev and production environments. What this means is we can edit database schemas like we edit code and deploy to "branches" in our Planetscale databases. This workflow allows us to test our schema changes in our dev environments without having to manage different database servers. Once the changes are tested, Planetscale can merge those changes to our production branch with zero downtime. Planetscale also integrates nicely with Prisma, which we'll be using in our Next.js application.
Setting up our Planetscale database
To start with, let's create a Planetscale account. Head over to planetscale.com and sign up with your email or Github account.
Once you're done, download the Planetscale CLI and install it. We'll use the CLI for connecting to our database locally and send deploy requests whenever we make changes to our schema using Prisma.
From the Planetscale dashboard, let's create a new database. You can name the database whatever you want (I'll call it nextjs-example-app). Choose a region that's closest to wherever you're deploying your Next.js application. 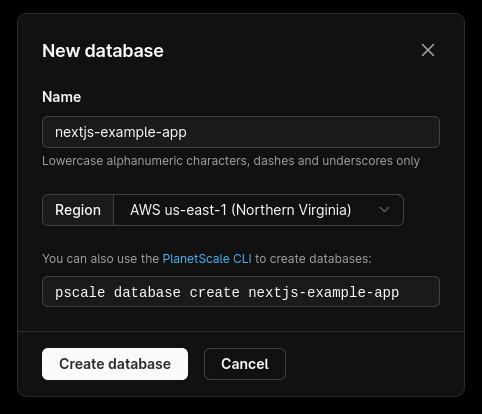 Planetscale can automatically store our database migrations, but this has to be enabled. Head on over to the Settings tab for your database and check the checkbox that says "Automatically copy migration data". From the Migration Framework dropdown, choose Prisma. Now all our database migrations will be stored in a table called
 _prisma_migrations. 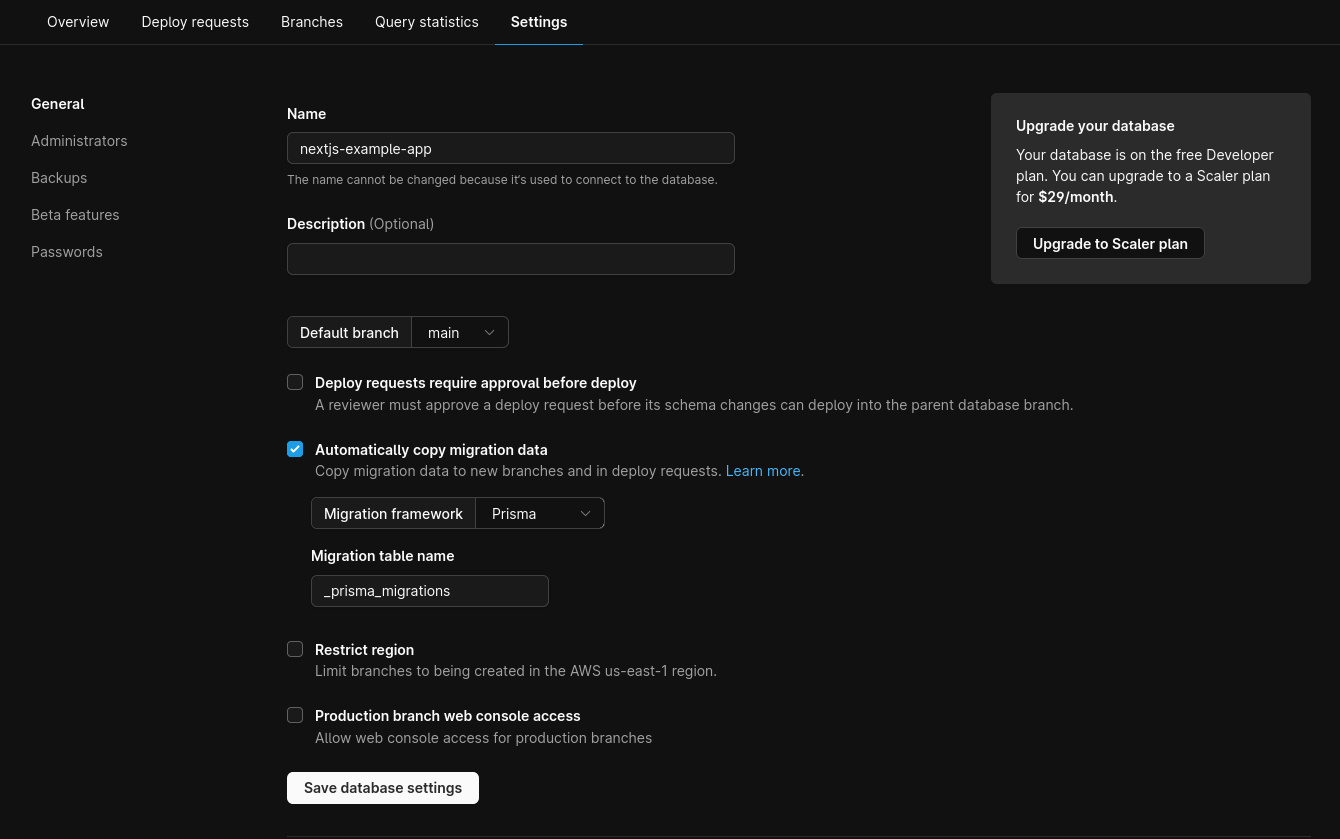 Going back to the overview tab, we can see that our database doesn't have a production branch. To fix this we can promote our main (default) branch to a production branch.
 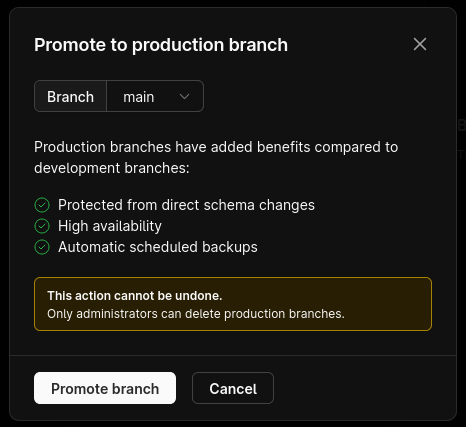 Production branches are protected from schema changes, have automated backups, and are highly available. Let's create a couple more branches so we can use them for development and testing. Click on the New Branch button. We need two branches — dev and shadow. I'll talk about the use of the shadow branch shortly.
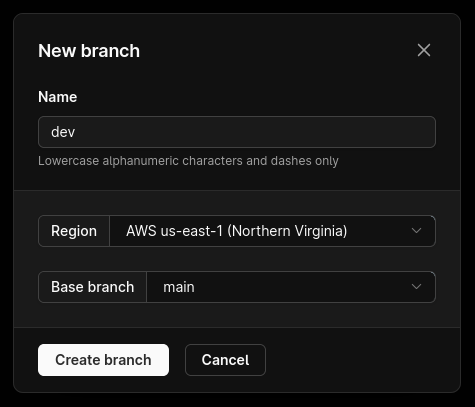
 Now that we have our branches, let's connect to our database from our Next.js app. To do this, we need a connection string that Planetscale automatically generates. Click on the Connect button in the Overview tab. Choose Prisma from the Connect With dropdown, copy the database URL, and save it in a safe place.
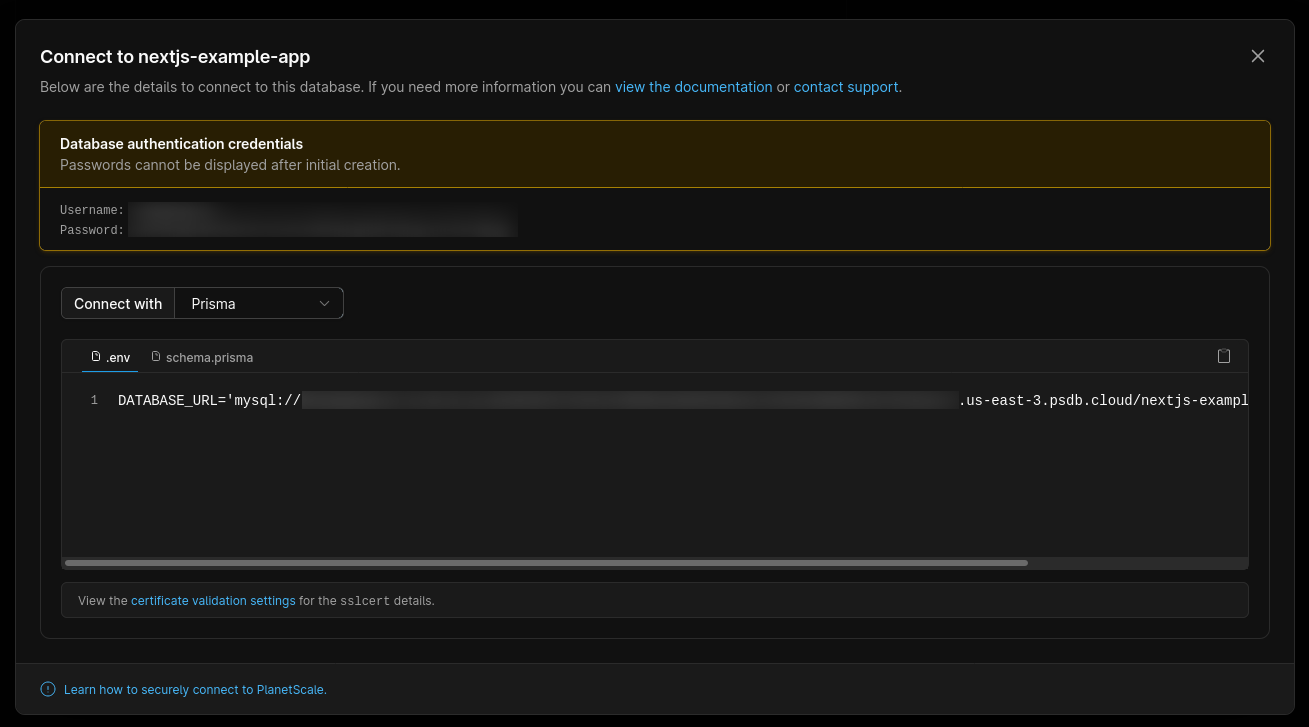
Setting up the Planetscale CLI
Let's authenticate the Planetscale CLI using our account. From the command line, run the following command:
pscale auth login
This opens a browser window and asks you to login to our Planetscale account. Once you've logged in, we'll be authenticated in our CLI. Now let's connect to our dev and shadow branches.
pscale connect nextjs-example-app dev --port 3309
pscale connect nextjs-example-app shadow --port 3310
This will create connections to our dev and shadow branches in port 3309 and 3310.
Connecting to our database from Next.js and Prisma
Let's create a new Next.js project:
npx create-next-app nextjs-example --typescript
You can skip the --typescript flag if you want. Go into your project directory and initialize Prisma:
npx prisma init
This will create a prisma directory inside your project with a schema.prisma file inside it. Let's edit our local .env file and add a couple of variables.
DATABASE_URL="mysql://[email protected]:3309/nextjs-example-app"
SHADOW_DATABASE_URL="mysql://[email protected]:3310/nextjs-example-app"
Prisma uses a shadow database during development to generate new migrations and detect schema drift (checking if no manual changes have been made to the development database). We'll use our shadow branch for this purpose.
Now let's edit our schema.prisma file:
datasource db {
    provider = "mysql"
    url      = env("DATABASE_URL")
    shadowDatabaseUrl = env("SHADOW_DATABASE_URL")
    referentialIntegrity = "prisma"
}

generator client {
    provider = "prisma-client-js"
    previewFeatures = ["referentialIntegrity"]
}

model User {
    id              String           @id @default(cuid())
    createdAt       DateTime         @default(now())
    email           String?          @unique
    password        String?
    emailVerified   DateTime?
}
Referential Integrity is a property of a data set that states that all of it's references are valid. This simply means that if a record references another record, then the referenced record must exist. We've also added schema for storing users' data.
Optional: You can format your Prisma schema file using the following command in your project root:
npx prisma format
It's time to generate our Prisma migration.
npx prisma migrate dev --name init
We should see a success message in our terminal. This command also creates a migrations directory inside the prisma directory. To merge the changes in our database schema, we'll create a "Deploy Request".
pscale deploy-request create nextjs-example-app dev
Once we run this command, we can return to our Planetscale dashboard to see the deploy request. The deploy request also shows the schema changes that have been made. Click on the "Deploy changes" to merge the schema changes to our production branch. 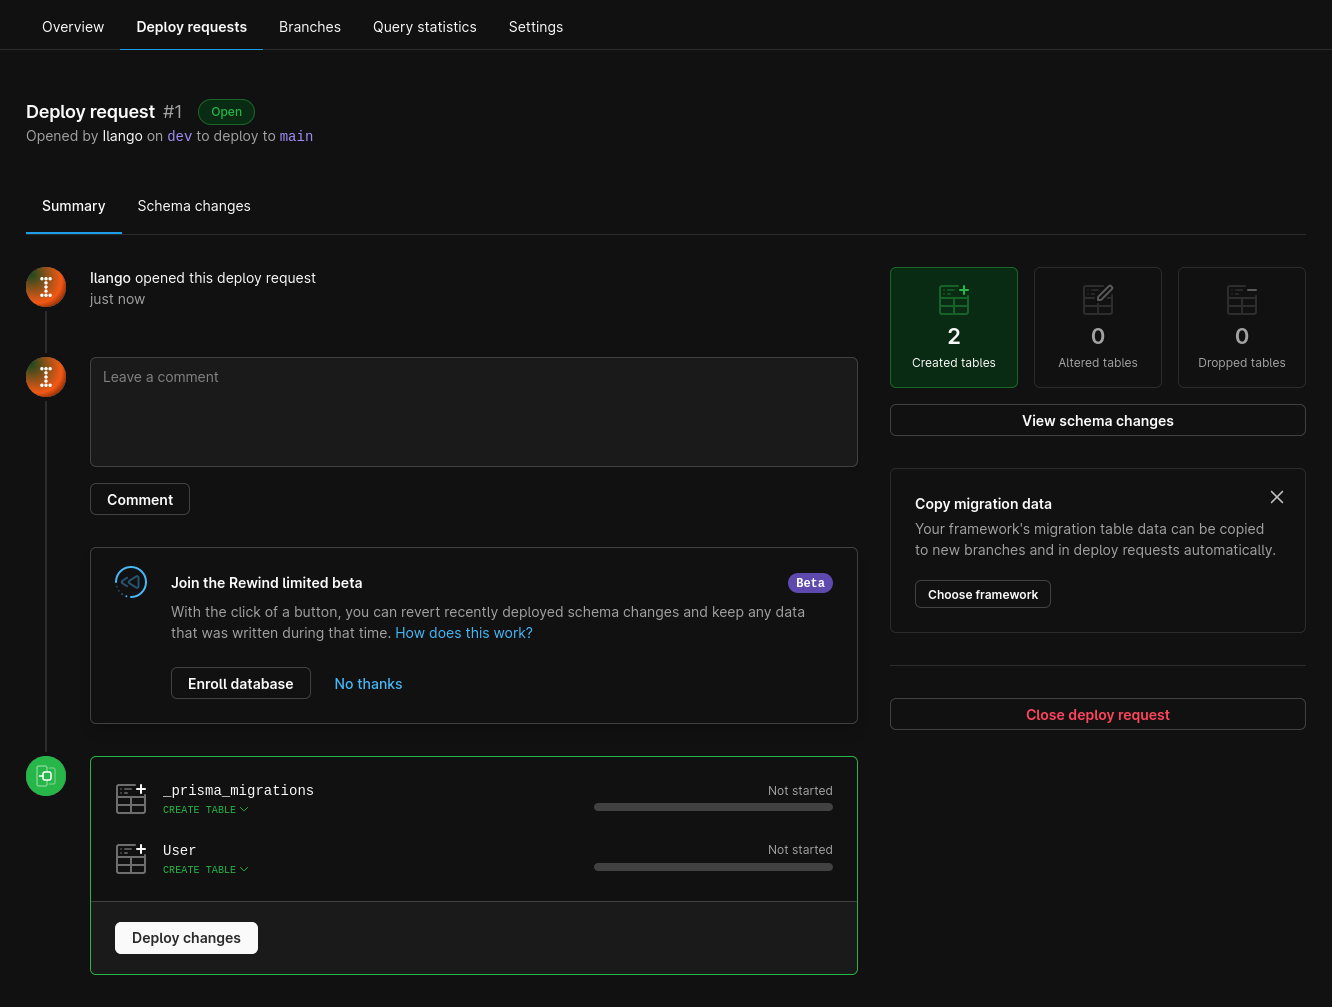 Let's connect to our production branch and create a new user record. Close the existing planetscale connections and run the following command:
pscale connect nextjs-example-app main --port 3309
In another terminal, run:
npx prisma studio
This opens a web UI that shows all our database models and records in each of those tables. Select the User model, click on Add Record and enter any sample data. Once you click save, the table will refresh and show our newly added record.  Now let's connect our Next.js app to Planetscale. Create a file called
 index.ts in the prisma directory.
import { PrismaClient } from '@prisma/client';
export * from '@prisma/client';

let prisma: PrismaClient;

if (process.env.NODE_ENV === 'production') {
    prisma = new PrismaClient({
        errorFormat: 'minimal',
    });
} else {
    globalThis['prisma'] = globalThis['prisma'] || new PrismaClient({ errorFormat: 'pretty' });
    prisma = globalThis['prisma'];
}

export default prisma;
Now you can import prisma into your API routes, getStaticProps, and getServerSideProps. For example, let's fetch a list of users from our database.
// pages/api/users.ts
import prisma from '../../prisma'

export default async function handle(req, res) {
    switch (req.method) {
        case 'GET': {
            const users = await prisma.user.findMany()
            res.json(users)
        }
    }
}
You can now deploy your Next.js application to a host of your choice. If you use Vercel/Netlify, you have to add a DATABASE_URL environment variable and use the connection string you got from Planetscale dashboard. You don't need SHADOW_DATABASE_URL because Prisma only uses it in development and not production. The code for this tutorial is available on Github.
I hope this article was helpful if you're looking to integrate Planetscale to your Next.js application. I've been having a blast using Planetscale. Their developer experience is amazing and the workflow is very similar to what we already do with our code. They have a generous free tier that's good for MVPs and POCs but also enough as you start scaling your product.